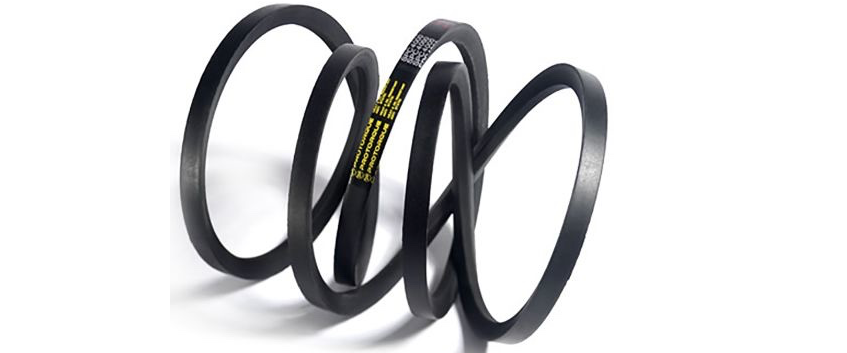
14 Step V Belt Installation Checklist
Installing replacement V-Belts correctly will reduce V Belt maintenance issues later.
Follow this step by step checklist to reduce down time and interruptions which may be quite costly.
- Turn off power and lock out the actual power source so that you ensure you stay safe.
- Research and follow any recommendations from the original V Belt Manufacturer.
- Remove the v-belt guard and loosen the motor mounts.
- Shorten to center distance.
- Remove old v belts and inspect for patterns of abnormal wearing.
- Take a moment to look at other parts of the drive such as the shaft and bearings.
- Check sheaves for wearing and clean them well.
- Examine the sheave alignment.
- Select and replace worn v-belts with appropriate replacement v-belts.
- Tension the new v belts.
- Examine the sheave alignment a final time.
- Start up the drive.
- Look as well as listen for anything abnormal.
- After 24 hours re-tension.
If you are looking to purchase a replacement V Belt head over to this page.

